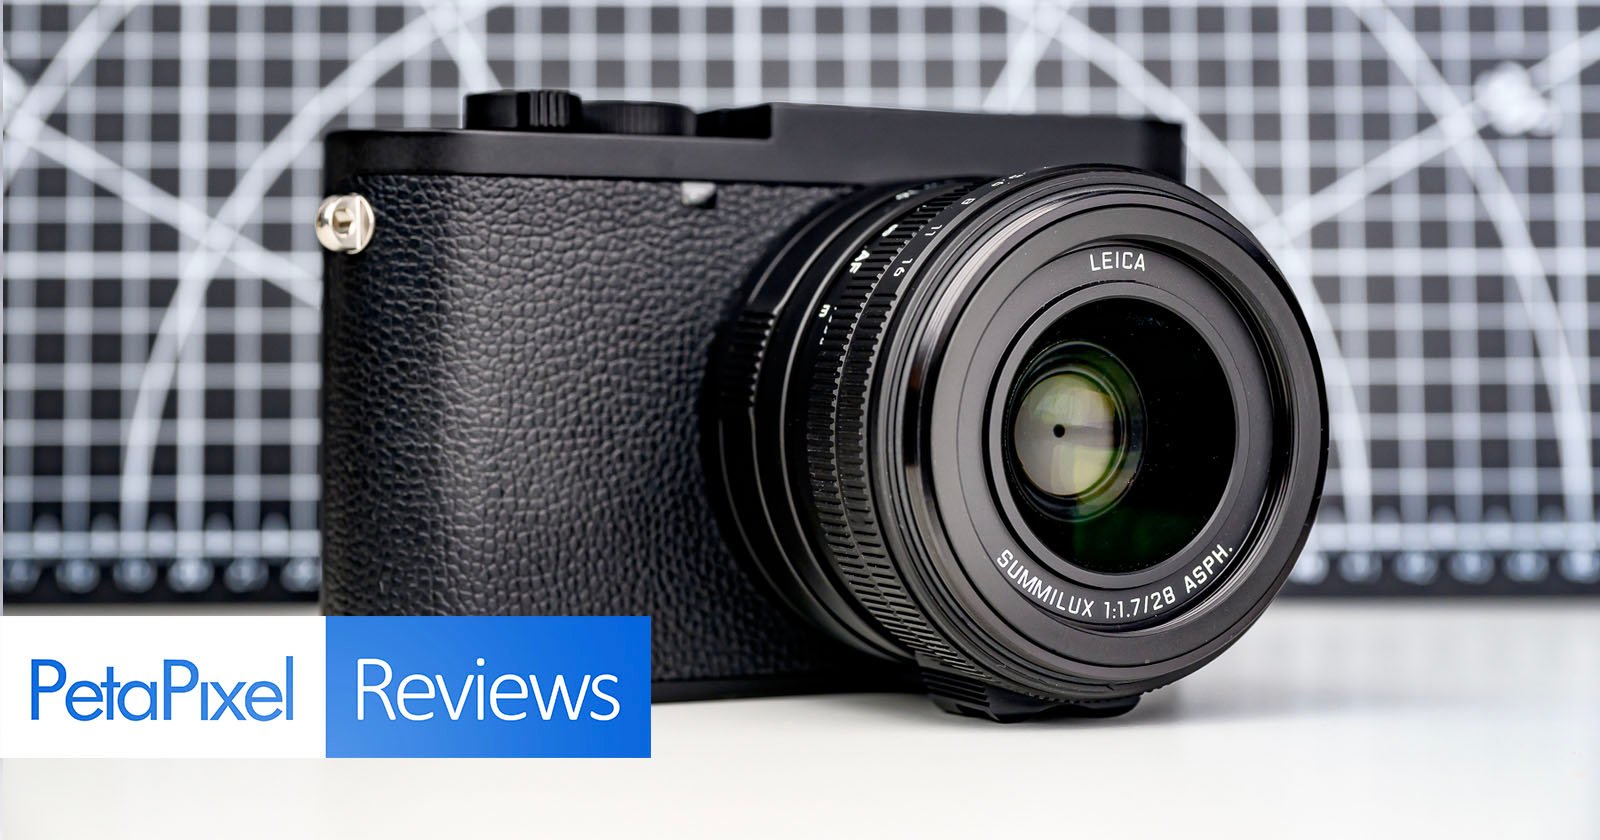
Leica is by far the leading company to create monochromatic versions of its most popular camera models, and that is because, love it or hate it, black and white exclusive cameras sell really well. Now the Leica Q3 gets the Monochrom treatment that we’ve seen in the recent Q2 and M11 models. It comes with a higher price at $7,790 and the limitation of only shooting monochromatic images, but it also comes with some image quality improvements.
The new Peak Design Pro Tripod is NOW AVAILABLE (If it isn’t just keep hitting refresh until it is) You can read the presser just bellow. We have a review coming soon, too.
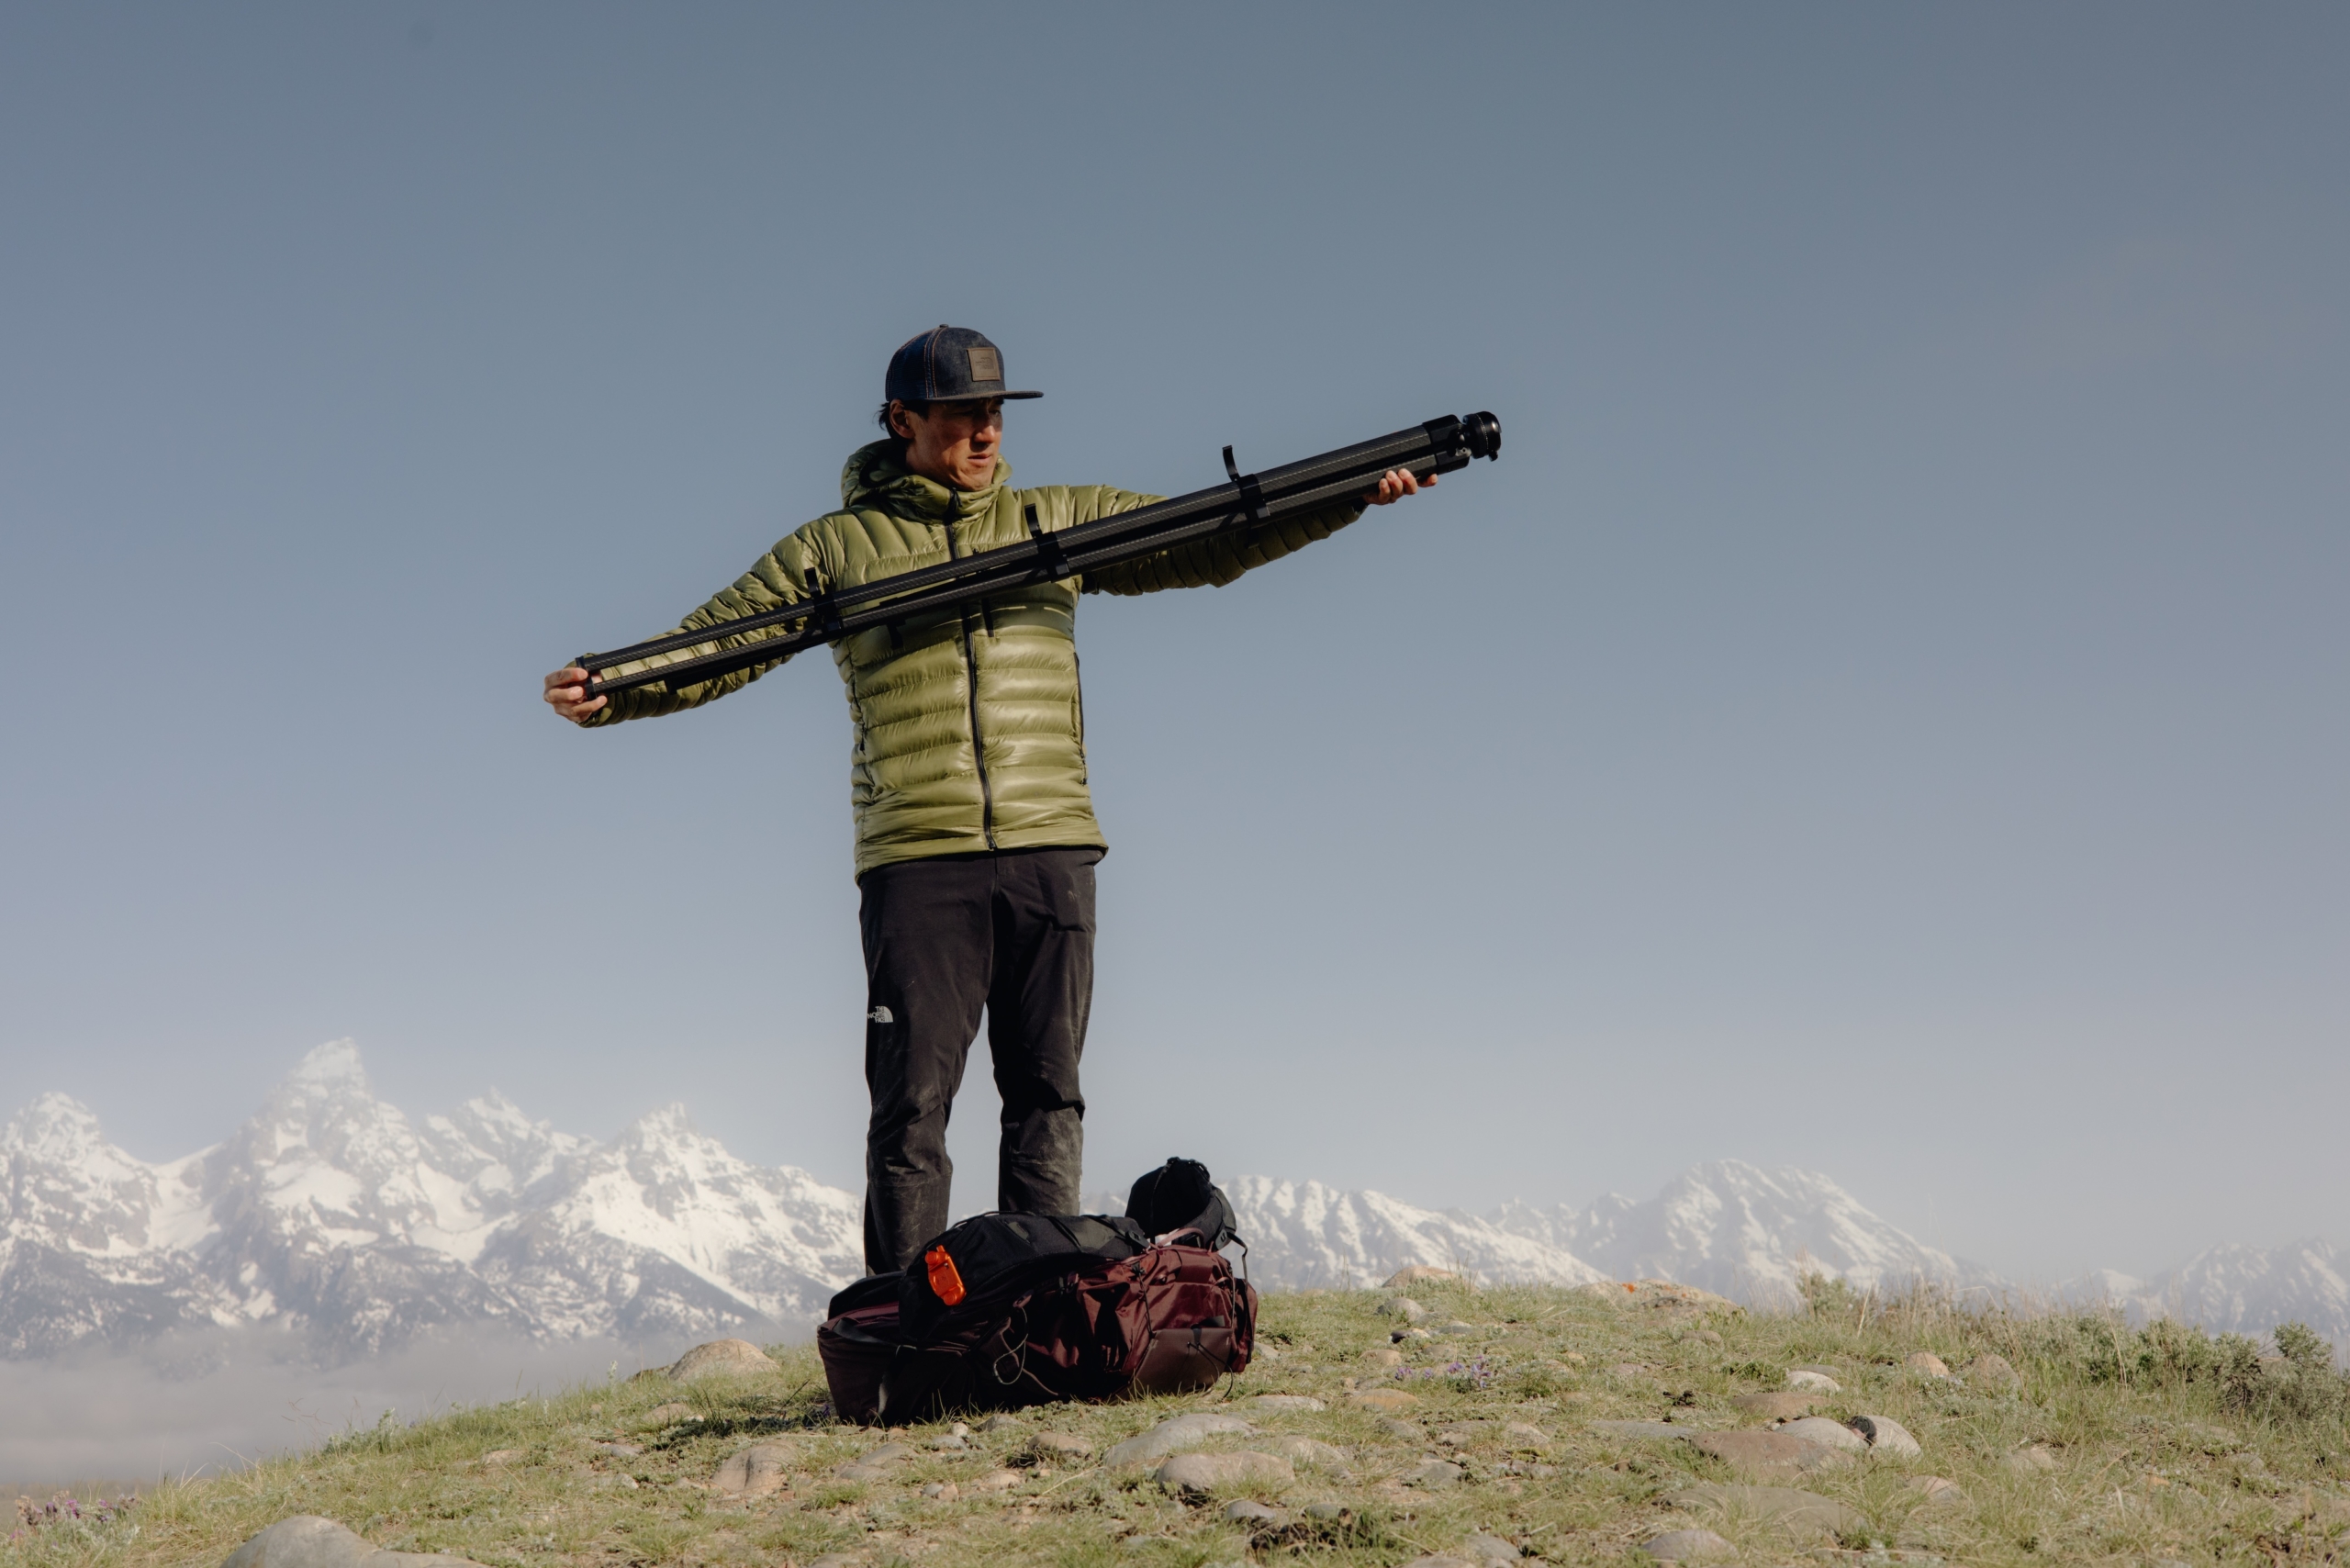
Peak Design, a global leader in camera accessories and everyday carry, has once again disrupted the tripod market with its latest category-defining release: The Pro Tripod. Engineered from the ground up to elegantly support the workflow of pioneering adventure photographer and filmmaker Jimmy Chin, the Pro Tripod sets a new standard in professional-grade portability, strength and thoughtfully designed functionality for users across the creative spectrum.
Peak Design first revolutionized the tripod category in 2019 with the award-winning Travel Tripod–a reexamination of traditional leg and center column architecture that delivered unprecedented spatial efficiency. Pro Tripod’s foundation is rooted in this transformative design but built with intentional upgrades to deliver an entirely improved user experience across its three available sizes (Pro Lite / Pro / Pro Tall). Featuring a fully CNC-machined hub, flanged center column, and increased leg diameter and length, Pro Tripod achieves twice the stability (40lb capacity vs. 20lb) and up to a 30% greater deployment height (197.4cm on the Pro Tall model) as its groundbreaking predecessor. Yet similar to the Travel Tripod, the Pro Tripod maintains a backpack friendly weight and size, making it the most portable pro tripod on the market.
Among the most notable refinements to Peak Design’s meticulously redesigned Pro Ball Head is the addition of fluid panning. Combined with Tilt Mod–a brilliantly designed, packable accessory that converts the Pro Ball Head into a fluid pan and tilt head (sold separately)–users can instantly capture pro-level video and eliminate the need to carry a dedicated video tripod or secondary video head. In addition to panning, Pro Ball head supports 15 degrees of adjustment when Pro Tripod’s center column is fully stowed and features a new ARCA-compatible quick-lock for a satisfyingly secure, and effortless camera connection. No other ball head on the market comes close to delivering this level of functionality and intuitive control.
Behind Pro Tripod is an invaluable design partnership between Peak Design and renowned adventure-photographer and Emmy Award-winning filmmaker, Jimmy Chin. Chin’s desire to test countless Pro Tripod prototypes in the world’s harshest climates played an instrumental role in influencing each feature incorporated into the Pro Tripod.
“Peak Design has been an important part of the gear I use to support my shoots over the years,” noted Chin. “Collaborating on the Pro Tripod only enhanced my interest in their design ethos, and I’m incredibly excited to help bring to life a tool that will further the creative workflows of countless photographers and filmmakers.”.
Speaking to the partnership, Peak Design Founder & CEO, Peter Dering commented, “Jimmy made no bones about what he desired in an expedition-quality tripod.” He continued, “We knew if we could fulfill Jimmy’s wish list we’d land on a tripod that meets the needs of almost every photographer and videographer on the planet. The Pro Tripod marks a huge milestone for Peak Design and we couldn’t be more proud.”
At an MSRP of USD $799.95 for Pro Tripod Lite, $899.95 for Pro Tripod, and $999.95 for Pro Tripod Tall, Peak Design offers exceptional value within the premium tripod category. However, upon its November 20 launch on PeakDesign.com and select retail partners, customers have a limited-time opportunity to purchase Pro Tripod and accessories for a 5% discount until midnight December 1. (We’re not sure where, perhaps
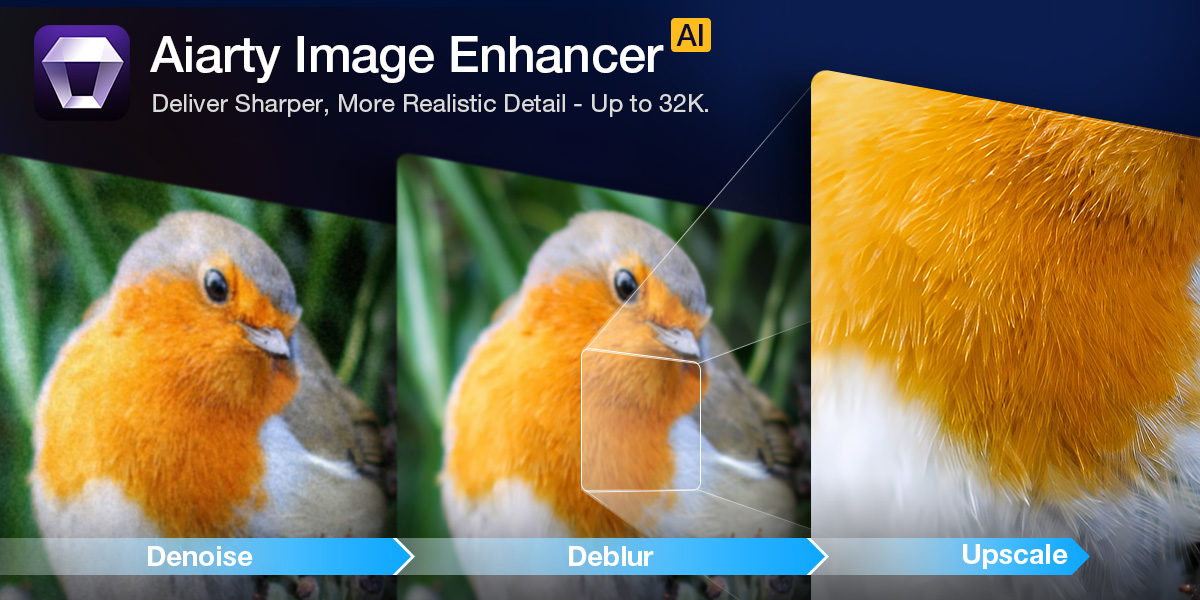
Fix Noisy, Soft, or Dull Photos with Aiarty Image Enhancer (49% OFF Lifetime License Deal)
Whether you’re a travel, portrait, wildlife, or archival photographer, Aiarty Image Enhancer helps bring out the best in every shot.
Even the best cameras can leave you with photos that need a little help — high ISO noise in indoor shoots, slightly soft focus from a quick grab, or colors that don’t quite pop straight out of camera. The goal with any editing tool is simple: fix the issues while keeping the look and feel of your original photo.
That’s where Aiarty Image Enhancer shines. It reduces noise, restores clarity, and brings out natural detail — all offline, so your images stay private and processing is fast.
Recent updates add practical tools photographers will love: a slider to adjust enhancement strength, quicker color and tone tweaks, improved AI face restoration, and optimized GPU acceleration — small refinements that make everyday editing smoother and more precise.
Full access to all features plus free lifetime updates
Installation on up to three Macs or PCs
Fully offline processing — no uploads, no privacy concerns
A 30-day money-back guarantee
It’s perfect for photographers who want to own their tools and avoid subscription fees, keeping your workflow simple and cost-effective.
Quick Start: Enhance a Photo with Aiarty Image Enhancer
Aiarty works entirely offline, so your photos stay private while processing is fast. Its clean interface makes it ideal for both beginners and pros:
Drag & drop your photos.
Choose an AI model suited for your photo type (portrait, landscape, stylized, etc.).
Upscale 2×, 4×, or 8× (up to 32K), or select 1× to refine high-res images.
Preview before/after results in real time.
Adjust enhancement strength with the slider.
Click Run — Aiarty processes quickly using GPU acceleration.
Everything stays local — no uploads, no delays, full privacy.
Smart Denoise — Clean Without the Plastic Look
High ISO cleanup can be tricky. Aiarty’s Smart Denoise separates sensor noise from actual detail, so skin retains its natural texture, shadows stay deep, and fine elements like hair, fur, or foliage remain sharp.
Even in ISO 6400+ or dimly lit conditions, results are clean without introducing unwanted patterns or waxy smoothing. For event photographers or wildlife shooters, this means more usable images straight out of your camera.
Screenshot: Reduce noise on a night cityscape with Aiarty’s Real-Photo model
Natural Sharpening — Rescue Soft Shots
Soft images happen — maybe your subject moved, or focus was slightly off. Aiarty sharpens edges and restores micro-contrast without halos or harsh artifacts, delivering a natural, lens-focused look.
For example, a portrait caught during a candid moment can regain the clarity of a perfectly focused shot without looking artificially processed.
Screenshot: Enhance a slightly blurred portrait with Aiarty’s More-detail GAN v3 model
Quick Color Fixes Without Hassle
Aiarty’s color tools make quick, precise corrections easy. You can:
Fix color casts with Temperature & Tint
Brighten flat images with Exposure & Contrast
Make colors pop using Saturation & Vibrance
Balance highlights and shadows for more dynamic tones
It works especially well with RAW files from Canon, Nikon, Sony, Fujifilm, and Panasonic. Even older or slightly dull photos can come alive in minutes, making it perfect for restoring travel shots, family photos, or creative projects.
Screenshot: Upscale an underwater shot and adjust colors
Restore Faces Naturally in Old or Portrait Photos
Aiarty’s AI Face Restoration gently improves facial details, maintaining a natural look without the unnatural “AI face” appearance
Gradient Overlay: light, natural touch-up for portraits
Routine Overlay: stronger correction for old or damaged photos
This is especially useful for scanned family photos or portraits taken in challenging light — it restores facial clarity while preserving authentic skin tones and expressions.
Screenshot: Enhance facial clarity in an old family photo using AI Face Restoration.
Upscale Up to 32K — Ready for Prints & Crops
Planning large prints or heavy crops? Aiarty can enlarge images up to 8× (supporting 16K and 32K workflows) while restoring fine detail in compressed or older files. With export DPI options from 72 to 1000, your images are ready for web, client delivery, or gallery prints.
Photographers restoring vintage shots or preparing images for exhibition will find this especially valuable — the software can recover lost detail that would otherwise be unrecoverable.
Final Words
Aiarty Image Enhancer doesn’t change your style — it supports it. Noise reduction, subtle sharpening, flexible color correction, face restoration, and upscaling all work together to enhance your images while keeping them natural.
The Lifetime License is $79 (49% off), includes free updates, and works on up to three devices — a simple, cost-effective way to improve your workflow and maintain creative control.
As a Chinese brand, OnePlus skips the number 14 for cultural reasons, though after using the OnePlus 15 and its camera, I’m more likely to suggest the previous model was the lucky one. As a phone, the device is very impressive thanks to its outstanding battery life, gaming features, and superb software experience. Yet, as a camera system, it presents results that don’t feel like a worthy successor.
Photography has a great many rules and every once in a while, it is great to break all of them, don’t you think? For me, the art of freelensing for creative photography is the permission to play with both light and blur to archive a totally unexpected and magical image.
Freelensing works for almost any type of photography, but portraits get extra special love with the soft blur of the out-of-focus elements.
My first attempts at freelensing were just lucky shots among many more frustrated attempts. So, I gave up quickly. But as my photographer friends started posting beautiful dreamy images, I was tempted to pick up my camera and lens and try again.
I gave freelensing another try and I have been addicted ever since. It is a perfect way to get those creative juices flowing and add a little diversity to your photography portfolio and client work. Plus, you don’t really need any extra equipment to purchase or invest in other than what you already have in your camera bag.
What is freelensing?
Freelensing is a technique where the photographer shoots with the lens DETACHED from the camera body, creating a unique shot. With freelensing, you can manipulate your plane of focus to draw the eye of the viewer to a specific area. Alternatively, you can have an entire shot out of focus, creating a very dreamy frame.
Here are some things to consider as you try freelensing for the first time:
1. Camera settings for freelensing
Before freelensing, you must get your camera settings right. With the lens still attached to the camera, set the aperture to the widest possible value, and adjust the shutter speed and ISO settings for the correct exposure.
You can figure out the widest aperture on your lens by looking at the lens specifics. Once the lens is detached, you can make adjustments to the settings on the camera. For maximum control, use the camera in the manual mode setting where you, the photographer, are adjusting all variables like ISO, shutter speed, and aperture.
Check your camera and lens settings. Some lens will automatically maintain aperture when detached while others won’t. With Canon, the aperture stays wide open, so you don’t need to do anything specific. With a manual lens, you might have to keep the aperture open manually.
Using live view can help you find the focus point in your image as you move the lens around. The dark edge on the lower left of the image is part of the lens (the final image is without the lens in the frame).
2. Focal distance for freelensing
Before detaching the lens, turn the focal distance dial of the lens all the way to the infinity symbol. This sets the focal distance to the farthest possible point. Then you can detach the lens and keep it as close as possible to the ring.
Keeping your eye in the viewfinder, start tilting the lens slowly – up, down, left, or right until you see a composition that you like. Remember that by its nature, freelensing is not perfection. You will not find a tack-sharp image with freelensing, but that adds to the magic of creativity with this exercise.
3. Finding focus
The beauty of freelensing for creative photography is that there are no rules. But one thing that can make or break a good creative image is the focus. While a completely out of focus image is still very beautiful, having a focal point in the image adds to the magic. Along with light, composition, and color, focus draws the eye into that element of perfection while the rest is imperfect.
As you move the lens around, try and get one area of the frame in focus. Landing focus in freelensing is hard, so give yourself some time to get used to it and be patient.
Try multiple frames to find the focus point. Play with the focal distance of the lens to help you determine that focal area. Also, try moving in and out of the scene until you’re happy with what you see.
As you decide on composition and focus point, consider the message, mood, and story you want to convey to the viewer.
4. Light and light leaks
Freelensing for creative photography can lead to all kinds of interesting images, but it’s the element of light that makes them work. It can add flares and light leaks to the frame and infuse the image with an extra-magical effect.
It’s better to work with good backlight when capturing light leaks and flares. I find the ideal time is during golden hour, when the sun is straight-on but slightly softer than other times of the day.
As you tilt and separate the lens from the camera, bits of surrounding light can spill into the sensor, adding some cool light-leak effects to the frame.
Play around with the light leaks and see how they affect the frame. You can control the direction and amount of light entering the frame by adjusting the size of the gap. Be aware that too much light can ruin the image too.
Light leaks add an interesting element to freelensing images that sometimes resemble a filter.When outdoors, freelensing can add beautiful sun flares without the use of extra filters and prisms.
Things to note with freelensing for creative photography
If you have an expensive lens and camera, try freelensing inside the house on a bed or soft surface as you try to manually hold the camera and lens in your hand. Perhaps that heavy 70-200mm lens is not the one to try freelensing for the first time
I always shoot with the camera strap around my neck. That way, if for some reason I lose my grip on my lens and camera, I focus on saving the lens since I know the camera is secure.
You can do freelensing with the camera on a tripod but that can limit the range of motion and creativity of the frame. But if you are just starting out, then this is a safer option.
I hold the camera around the camera grip with my right hand and manipulate the lens with my left hand. I am right-handed, so this plays well with the strength of my hands.
The distance of the lens from the camera and the distance of the camera and lens from the subject will affect the plane of focus (just like it does in normal photography).
When you are closer to the subject, less of the subject will likely be in focus
When you are further away from the subject, more of the subject will likely be in focus
If you are far away from the subject, put the lens closer to the body of the camera
If you are close to the subject, you can get the lens further away from the body
As you move the lens away from the camera body, light leaks will enter the frame. Live view will help you find the light leaks that works best for the shot you have in mind.
Once you get the hang of it, you will find yourself trying freelensing anywhere and everywhere. The results are so unique that you cannot help but get creative.
The best advice for successful freelensing for creative photography is to leave all the rules behind and photograph with your heart. Find that creativity and let the magic unfold.
We’d love to see your freelensing images! Please share them with us in the comments section.
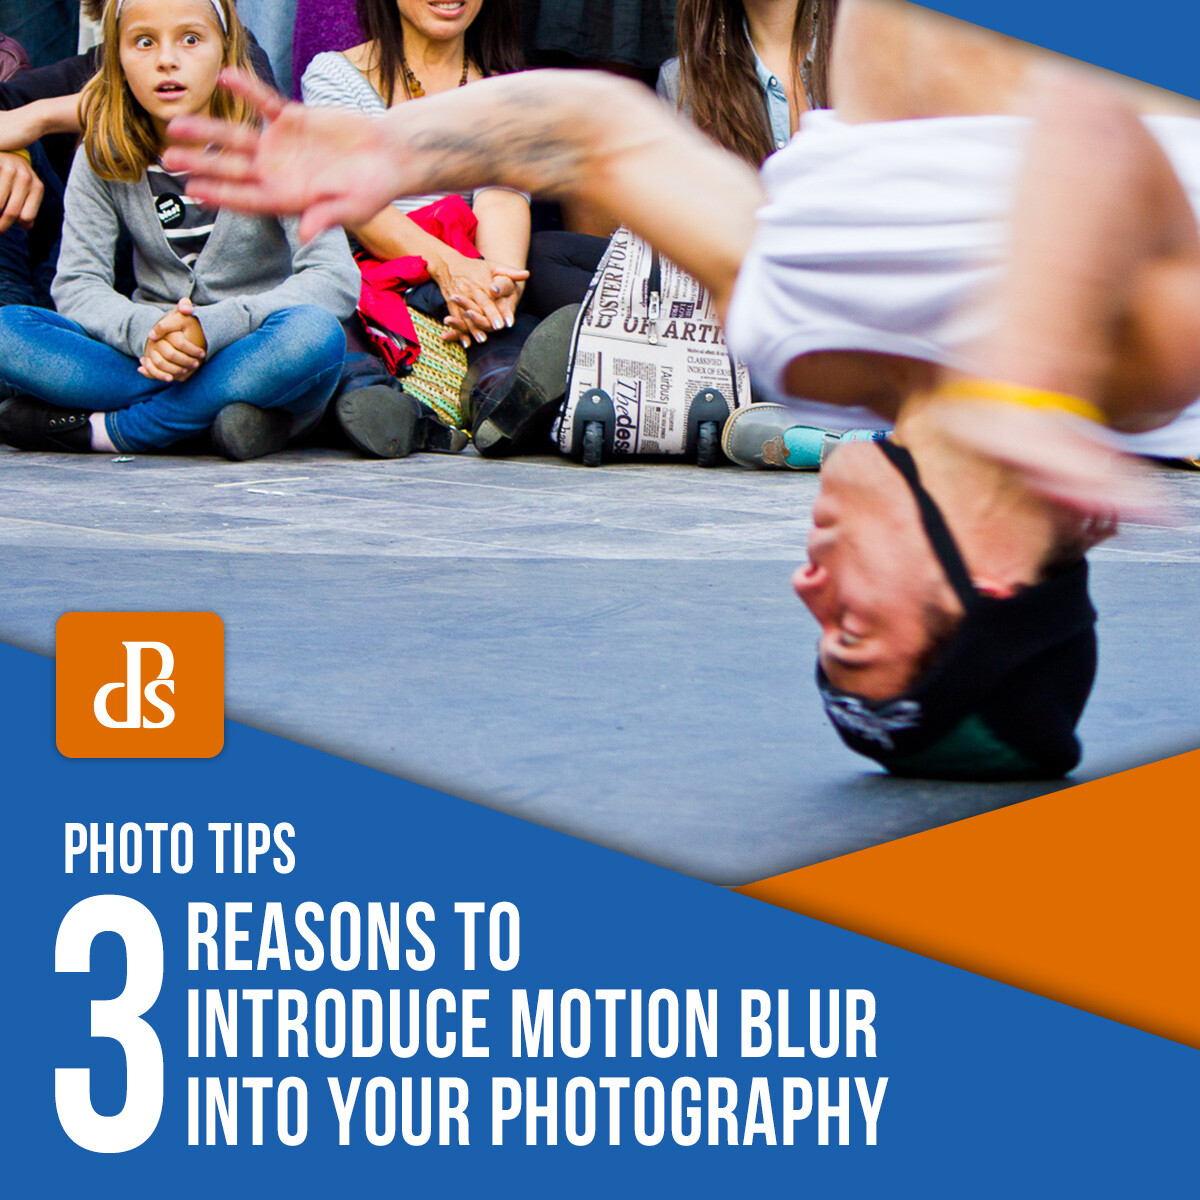
Making a still image come to life can be a difficult task, especially if you don’t know the full functionality of your camera. When you’re first learning photography, it quickly becomes second nature to keep everything perfectly in focus, so you don’t instantly know how, why, and when to introduce motion blur to your images. But before you introduce motion blur, first, let’s learn what it is and how to do it.
f/6.3 – ISO 160 – 1/100 sec
What is motion blur?
First and foremost, motion blur is a lot different than a blurry image. If you shake the camera around or your subject starts to move right as you open the shutter, that creates a blurred image, but not necessarily motion blur.
Motion blur is when you purposely create an aspect of movement for your subject, but the rest of the photo is in focus. This is a really important element that makes the difference between motion blur and just a blurred image. Without some part of your photo being sharp, then your foreground and background are going to blend together and the photo won’t work.
Motion blur should also happen to something that the viewer would naturally assume is moving, like a car or a person running. Adding motion blur to something that is typically stationary, like a book or a salt shaker that is on a table, will seem awkward. Even though seeing a salt shaker move at the speed of light is an interesting idea, it won’t really make any sense to the viewer.
Now that we have the basics down, here are 3 reasons why you should introduce motion blur to your photography.
Imagine that you’re shooting at a horse racing track. You’re standing at an angle near the finish line, and when the two runners pass you, you compose your shot with them both in the frame and the finish line in the background.
If you introduce motion blur correctly in
your photo, then you’re going to have an awesome shot of the two runners in
motion, slightly blurred as if they are still running despite being frozen in
time. The finish line may even be in focus, along with the spectators.
This brings the viewer into the shot like they are standing right alongside you to see the race to completion. It tells the story of what you witnessed that day.
If done incorrectly, you’ll just get a blurred photo of two blobs running toward another blob. The elements in the photo will blend together and you’ll barely be able to understand what is happening in the first place.
f/2.8 – ISO 4000 – 1/80 sec
2. It adds action to your photography
Another great reason for adding motion blur to your photos is to convey a sense of “action” or “movement.” This can make your photos seem much more dynamic.
For example, imagine a dirt bike that is roaring around the side of a mountain. Imagine seeing the blurred dirt bike racing along the path while the mountain itself is in perfect focus. It almost makes it look like the dirt bike is rocketing through the frozen image, or that you’re present to witness the moment yourself.
Or, for example, imagine a dancer. If you introduce motion blur, you can show the viewer the movement that is taking place. It could be that he or she is spinning, moving their arms, or even jumping. Having the right amount of motion blur can bring the dancer to life in your photo.
You’ll need to select a slower shutter speed than you would do normally to get this to work properly. The exact settings will depend on the speed that your subject is moving at. For the bike example above, you won’t need a shutter as slow as you would need for someone walking for example.
f/4 – ISO 200 – 1/200 sec
3. It can create a wonderful effect
If you set up your camera when the lighting conditions are dark, and set a slow shutter speed so that you have a longer exposure, you can create streaking lights that not only tell a story but also look fantastic.
First, you need to make sure that you have a steady tripod. Without it, you won’t get anything other than a completely blurred picture unless you raise your ISO ridiculously high. The problem with doing that is the amount of unwanted noise that you will end up with being in your photo. So if you want the best photo possible, use a tripod.
The long exposure will mean that any vehicles that drive past will create a streaked-light effect, or the stars above will streak across the frame as the Earth rotates.
Attempting this during the day won’t work unless you use a neutral density filter like a Lee little or big stopper. Without a filter, you will just end up with a completely blown out (white) image. Even if you do get it to work, it would not have the same impact as when it is darker.
f/8 – ISO 100 – 5 sec
Getting the hang of motion blur photography isn’t very difficult. But to do it well will require practice. So, experiment a little when you introduce motion blur to your photography and keep these reasons in mind to help push you along in your trials! With experience, you’ll get to learn how and when to best introduce motion blur to your photography.
There’s nothing I love more than grabbing a camera and setting off on the weekend to find a new place to photograph. But what happens if you’re confined to the house for an extended period and can’t get out? Fear not, there are still hundreds of things you can photograph in your home.
I have listed ten ideas for things to photograph below. I spent no more than 15 minutes photographing each item or idea. In some cases, it was closer to five minutes. For most images, I used either my Fujifilm XF 35mm f1.4 R lens or my Fujifilm XF 60mm f2.4 R Macro lens.
1. Family
The good news is that if you live with family or friends, you will always have subjects for your photography. The only trick is being a bit selective. Don’t take photos of them all the time and wear out your welcome!
For the image below, I sat my son on the trampoline with the afternoon sun lighting up the netting behind him. I took a series of shots with him looking into the camera. However, this one I like the best, with him looking away. I must admit, I did have to bribe him to pose for me, but it was worth a bowl of ice cream.
When did you last take photos of your family at home?
2. Pets
Another ready-made subject for you at home is your family pet. There can be both pros and cons for photographing animals. An advantage is that they can’t complain about being photographed like family or friends. A disadvantage is that they don’t want to sit still very often!
I tend to take images of our dalmatian Marshall when he’s doing something funny, yet rarely do I take a portrait. I love this photo of him; I took it as he was having a rest on the sofa.
There’s nowhere to hide from the camera, pooch!
3. Jewelry
If you have a macro lens, or a lens capable of getting close to small objects, why not photograph your jewelry? This could include items given to you by your loved ones or family heirlooms passed down from your relatives.
I chose to photograph my Nixon Star Wars watch. There are lots of cool details on the watch that I forgot about, including the second hand is a light saber!
If you have a lot more patience than me, you could take a series of images and focus stack them in an image editing program to create an image sharp across the frame.
My Star Wars watch
4. Figurines
When my Grandma visited London in 1983, she brought me back lots of little gifts, including these three metal soldiers. They’ve sat on my bookshelf next to my travel guide books for years. When I was looking for things you can photograph in your home, they commanded my attention immediately.
I photographed the metal soldiers in my front doorway on a table, with a booklet about London in the background. You can make out the double-decker bus in the background, which gives the image an added British feel.
Try experimenting with any small figures you have at home: lego people, dolls, small toys. Imagine what it’s like to be that tiny.
Attention! Three old metal figurines I had on my bookshelf.
5. Vintage cameras
Many photographers have vintage cameras in their house, either because they still shoot film with them or because they make fantastic decorations. When it comes to things you can photograph in your home, vintage cameras are my favorite!
I have so many cameras dotted around my home office it was difficult to choose just one to photograph. However, in the end, I went with my classic 1960s Japanese half-frame film camera, the Olympus Pen FT.
The Pen FT is a beautifully designed camera, even down to the lens cap, which I lay on the table next to the camera.
If you don’t have any vintage cameras in your home, you could always photograph your favorite lens or another vintage item in your house.
Precision Japanese engineering – the Olympus Pen FT.
6. Flowers
I wandered outside to my much-neglected garden and found some flowers we hadn’t managed to kill off yet. Gardening is not my superpower, that’s for sure!
I shot this image handheld, with the stamen in focus, and most of the background is a wonderful blur. As with the jewelry shots, you could set up a tripod and take a series of images to focus stack.
If you don’t have a garden, any kind of plant or flower – real or artificial – will do. If you have some cacti or succulents, you could even combine this idea with the figurines idea. Try posing some lego figures in your cactus garden!
7. Coffee
One advantage of being cooped up in the house is that I can make a coffee anytime I like. However, this can be a danger – I need to keep track of how many I’m having!
I took a series of images of coffee and milk frothing. This one of espresso coming out of my home coffee machine into a metal jug is my favorite.
Coffee pouring into a metal jug
8. Food
Hopefully during your stay at home, you have access to some nice food, or maybe you are still able to order some amazing takeaway from nearby restaurants.
Set up an area where you can shoot a flat lay of your meal. Try to make it as colorful and cool-looking as possible, with lots of different colors and props.
With time on your hands, why not prepare a gourmet meal and do a flat lay photo?
9. Sweet treats
Unless you’ve gone full minimalist, you’ll probably find things in your house and wonder where they came from. I have no idea why we had these brightly-colored candy canes in a vase in our kitchen, but I decided to photograph them nonetheless.
I put a white sheet over the table and photographed them with natural light streaming in the front doorway. Look for any brightly-colored candy or sweets in your house. I also took some shots of colorful easter eggs in a basket.
10. Home photoshoot
Another idea for something you can photograph in your home is a styled photoshoot. Christmas in July, teddy bears’ picnic, fashion shoots: the only limit is your imagination.
Pick a theme and run with it. Turn a corner of your house into your studio and go wild!
Conclusion
Being confined to the house can be challenging for many people. Rest assured, though, there are literally hundreds of things you can photograph in your home.
The first port of call for many will be family and pets, but there are also lots of other opportunities. You can also photograph personal items with sentimental value, such as jewelry, to vintage items that usually sit on the shelf, like toy soldiers, or vintage cameras. Bright colored items such as pencils and sweets make good subjects, as do flowers and plants.
Getting more creative with photographic opportunities at home is one way to fill time, work on your photography, and discover a new perspective. Are you up for the challenge?
What items do you like to photograph in your home? Tell us in the comments below.
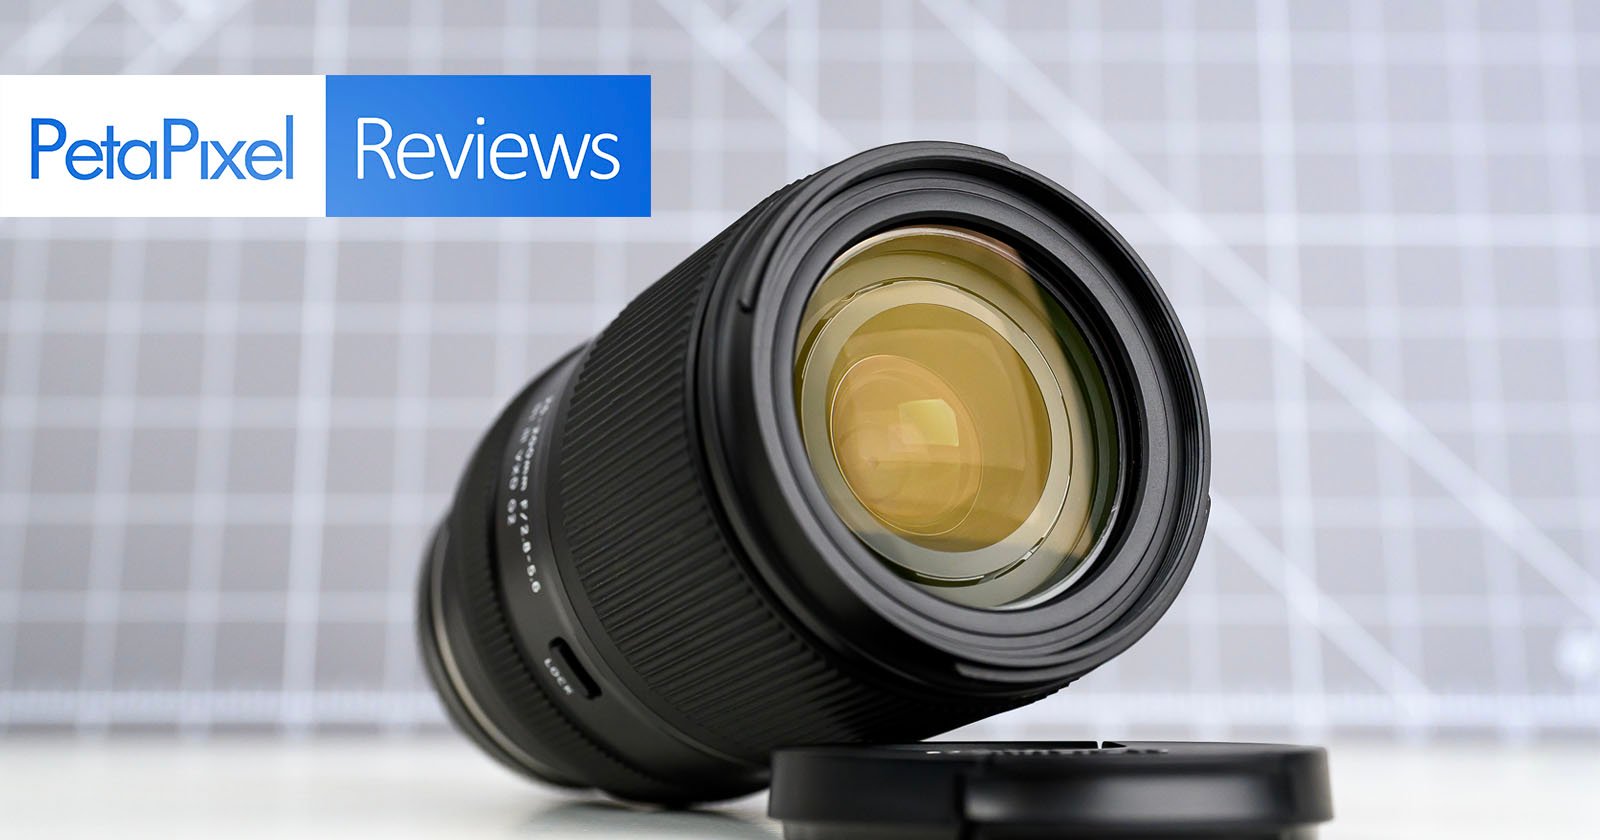
Tamron has a long and illustrious history of making travel-zoom lenses with massive focal ranges. These lenses provide a maximum amount of convenience, but how much of a compromise needs to be sacrificed to make this all possible? The new $900 Tamron 25-200mm f/2.8-5.6 Di VXD G2 is set to make a mark on the travel-zoom industry.
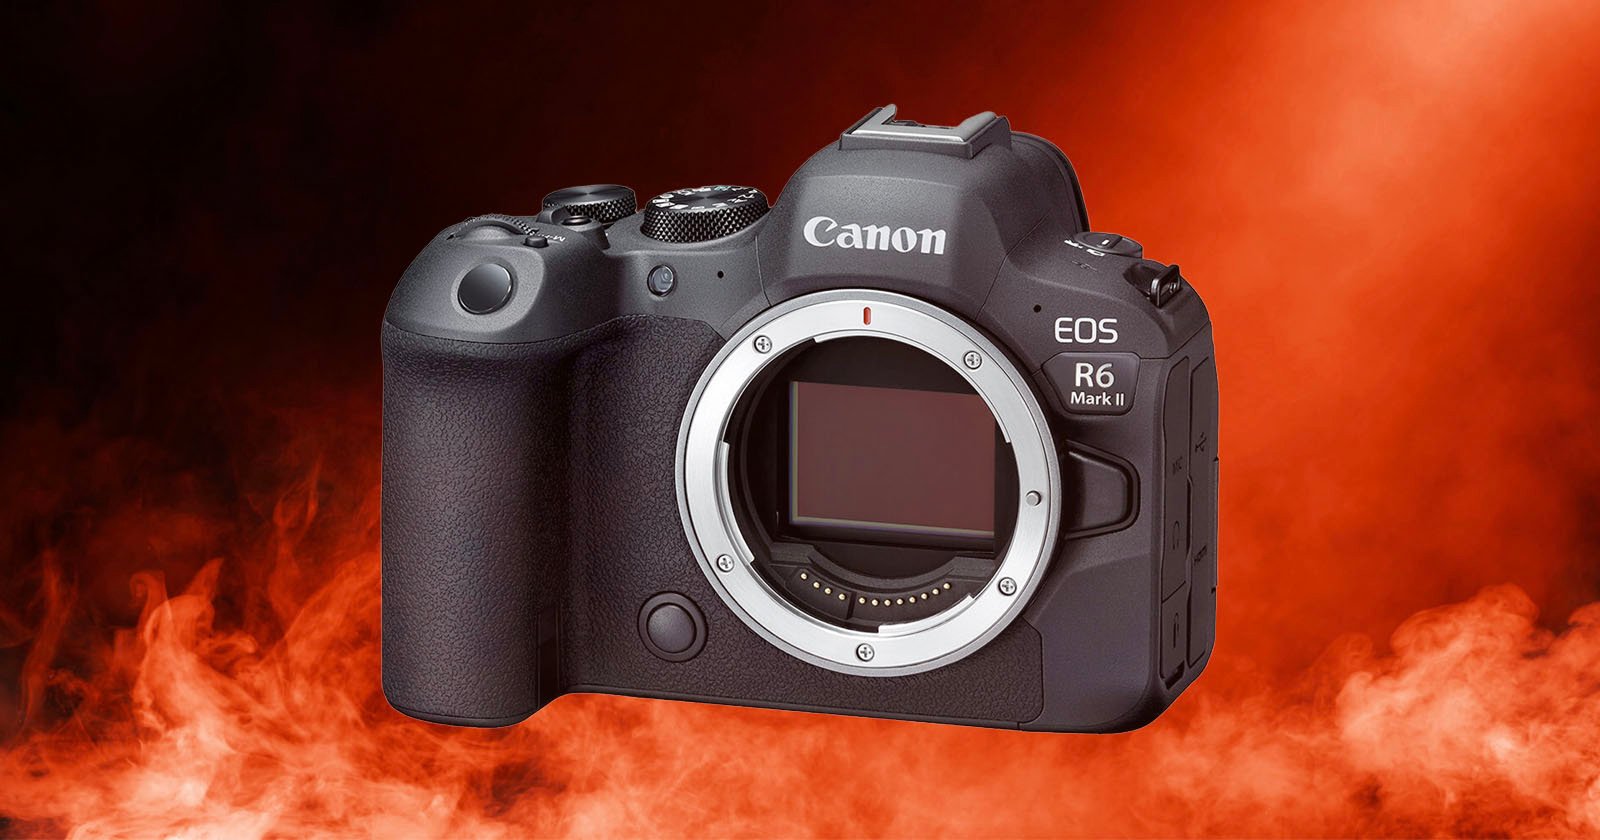
In PetaPixel’s review of the new Canon R6 Mark III, the lack of a fan versus the C50 — which uses the same sensor and has many of the same video features — was mentioned as one of the reasons a videographer might want to go with the cinema-focused body. When it comes to the R6 Mark III, we do see overheating as a possible concern in some use cases.
With modern, high-resolution camera systems, photographers are capturing tens or even hundreds of gigabytes of files per shoot, before even considering video. Your storage workflow is now almost as important as the camera and lenses you use to capture everything. This is why portable, interchangeable Solid State Drives (SSDs) like the TerraMaster D1 SSD Plus have become commonplace among photographers.